
I'm a Senior MLOps Engineer with 6+ years of experience building production-ML systems.
I write long-form articles on MLOps to help you build too!

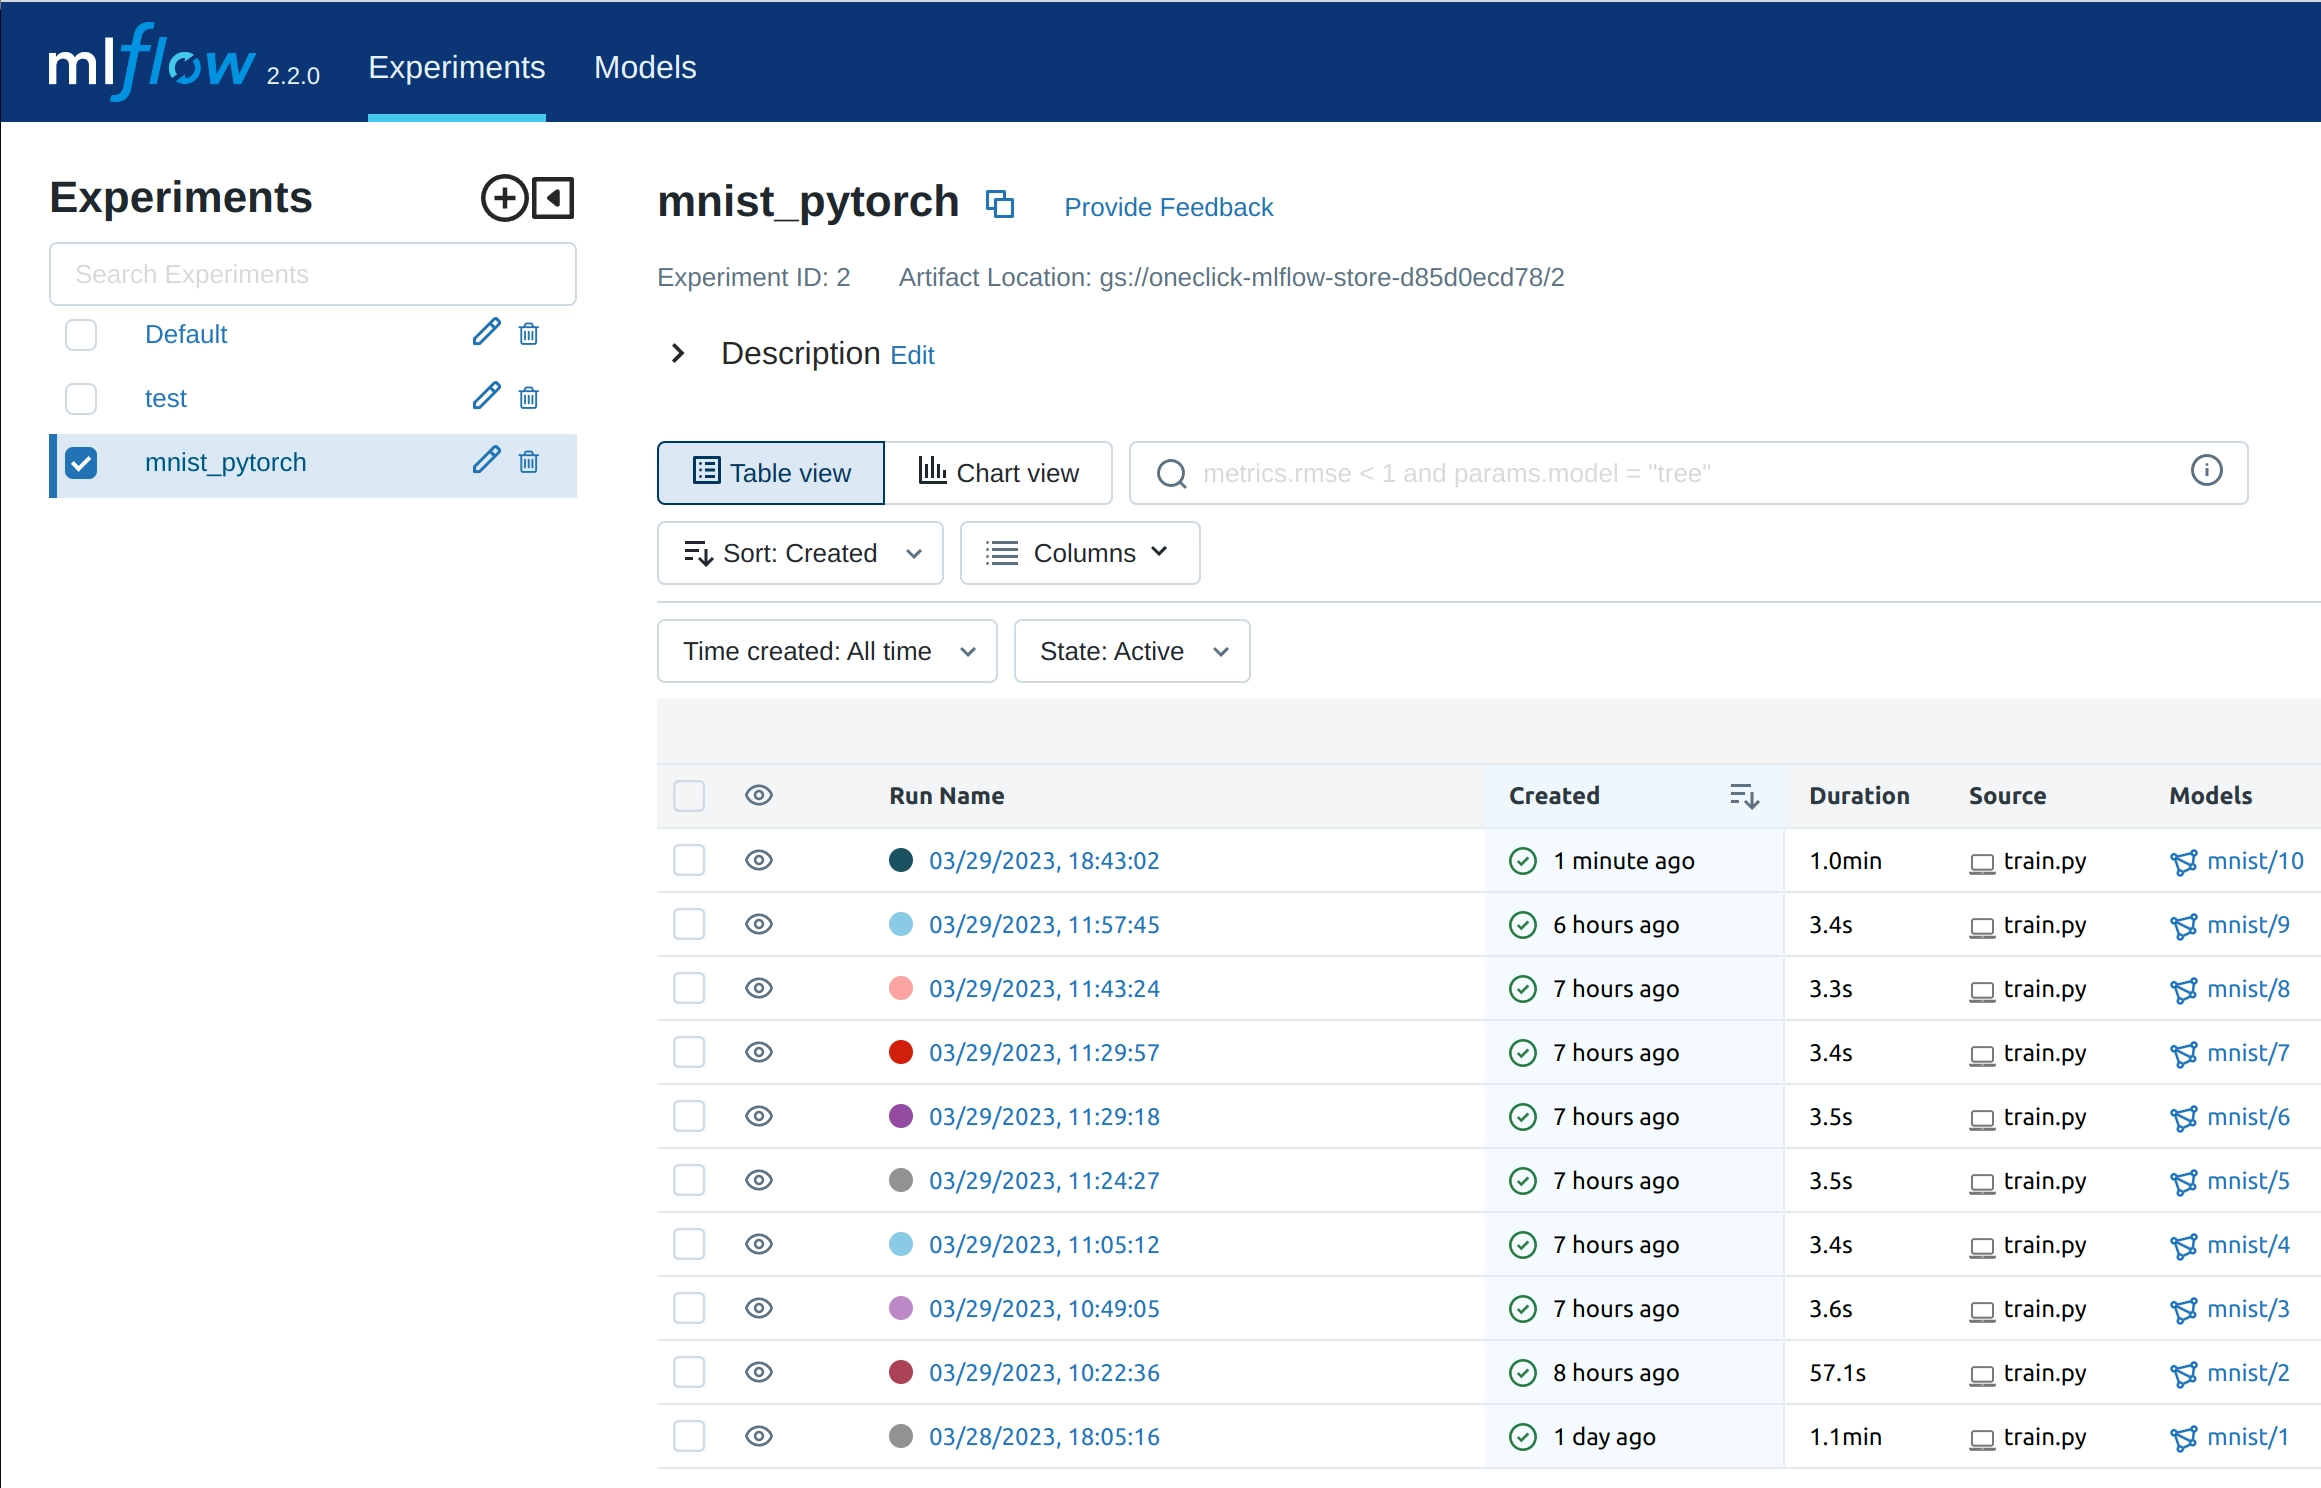
MLflow is an amazing and easy-to-use tool for managing your machine learning workflows 🤗 But when it comes to hosting it in the cloud for your whole team to enjoy, things can get a bit tricky without relying on paid services like Databricks. Don’t worry, though. I’ve got your back in this article 💪
Hosting MLflow on GCP has some additional cost 💵 but the benefits of improved scalability, flexibility, and ease of management outweigh the expenses, ultimately enhancing your team’s productivity and overall project outcomes.
In this article, we will use a Terraform template to deploy MLflow on GCP effortlessly, making the process as smooth as possible for you. But first, let’s take a moment to briefly introduce Terraform and understand its role in the deployment process 📦
If you want to learn more about MLflow, I advise you to read my previous article. It provides a template GitHub repository for MLflow development.
Terraform: Cloud Automation Made Easy
Terraform, an awesome open-source infrastructure-as-code (IAC) tool created by HashiCorp, empowers you to define, provision, and manage cloud infrastructure with ease, using a simple, declarative language known as HCL (HashiCorp Configuration Language). By treating infrastructure as code, Terraform helps you manage and version your cloud resources in a reliable, consistent, and efficient way, making your cloud adventures a whole lot smoother 👌
Let’s consider two scenarios where we deploy MLflow on GCP with and without Terraform to understand the benefits of it.
Scenario 1: Deploying MLflow without Terraform
Without using Terraform, deploying MLflow in the cloud would require manually creating and configuring all the required cloud resources using the web console or CLI tools. This process would involve several steps, such as:
- Setting up a virtual machine (VM) to host the MLflow server
- Configuring the VM with the necessary dependencies and software
- Creating and configuring a Cloud Storage bucket for artifact storage
- Setting up a Cloud SQL instance for MLflow backend
- Configuring authentication and access management
- Manually connecting all the components and testing the setup
This approach can be time-consuming, error-prone, and difficult to reproduce 😵💫 especially if you need to deploy the same infrastructure multiple times or across different environments
Scenario 2: Deploying MLflow with Terraform
Using Terraform to deploy MLflow in the cloud simplifies the process by automating the creation and configuration of all necessary resources. With Terraform, you would:
- Write a Terraform configuration file that defines all the required infrastructure components (VM, Cloud Storage, Cloud SQL, etc.)
- Use the Terraform CLI to apply the configuration, which creates and configures the resources automatically
- Make any necessary adjustments to the infrastructure by updating the Terraform configuration file and reapplying it
In summary, while there is a learning curve when it comes to Terraform’s HCL language, once you become familiar with it, you can take advantage of the benefits of automated, streamlined, and customizable infrastructure deployments not only for your MLflow projects, but for other projects as well.
Fear not, however. You will not need to learn Terraform’s HCL language to deploy MLflow with this template 😌
On the contrary, you will need to dive into HCL language if you want to change the architecture in the future.
Requirements

To deploy MLflow with this template, you will need the following:
- Private domain name (e.g. example.com) or Google Workspace
- Google Cloud Platform (GCP) account
- Terraform, make and jq
- Initialized Google Cloud SDK with your owner account
- Billing enabled on your GCP account or free 300$ credit trial
We will go through the steps of setting up the prerequisites in the next section (except the billing part).
Setting up Cloud Identity and Access Management (IAM)
Skip this section if your GCP project is part of an organization. In fact, for creating the Identity Aware Proxy (IAP) brand, we need a Cloud Identity or a Google Workspace account.
To setup the OAuth 2.0 authentication to give your organization access to a MLflow Server, Terraform needs a gcp.iap.brand resource available only in project that belong to an organization. In this step, we will create a free Google Workspace account with our private domain.
If you don’t have a private domain, you can buy one in Google Domains or GoDaddy.
- Go to the IAM & Admin page.
- Go to
Identity and Organization - Click on
Go to the checklist - Click on
Begin setup - Tick the
I'm a new customercheckbox - Click on
Sign up for Cloud Identity - Follow the setup and add your private domain url when asked
You should have created an admin account on your private domain by now. Next step, we need to verify our private domain here:
- Go to the
DNS Administrationpage of your domain provider (like GoDaddy) - Copy the key that google sends you and create a
TXTreccord with@name and the key as value - Click on
Verifyin the google page
You now have a free Google Workspace account and can head on to the next steps 👏
Google Cloud Platform Setup
If you already have gcloud CLI installed and an existing project, skip this section.
Otherwise:
- Follow the installation of the Google Cloud SDK here.
- Login to the Google Cloud Console with the admin account you created.
- Go to the Create Project page and select your organization.
You can now authenticate your gcloud client with the admin account you created:
gcloud auth loginFinally, set you default project:
gcloud auth application-default login --project $PROJECTTerraform Installation
Install Terraform following this link.
Test your installation:
terraform versionClone the repository containing the Terraform scripts to deploy the MLflow infrastructure:
git clone git@github.com:ConsciousML/one-click-mlflow.gitInstall make and jq
sudo apt install make jqMLflow on GCP Infrastructure

Don’t you find it scary to use a pre-defined script to deploy an infrastructure ? 😨 Me too ! Using GCP has a cost and I’m sure you don’t want to pay for something you don’t need.
That’s why I will walk you trough every component of the infrastructure and explain why we need it.
The MLflow architecture on GCP will be deploy through 6 components 🔢
- Identity-Aware Proxy with OAuth 2.0 authentication for secure access to MLflow Web Server
- App Engine Flex for hosting the MLflow Web Server with auto-scaling capabilities
- Cloud Storage as the Artifact Backend for storing machine learning experiment outputs
- Secret Manager for securely storing and managing sensitive data required by MLflow components
- Cloud SQL as the backend database for storing experiment data
- Log Pusher Service Account for secure communication between MLflow components and GCP services
App Engine Flex for MLflow Web Server
The MLflow Web Server is like your personal assistant for managing machine learning workflows, providing a dashboard where you can track experiments, models, and more.
App Engine Flex is an excellent choice for hosting the MLflow Web Server on GCP due to its flexible and scalable architecture. As a managed platform, it abstracts away the underlying infrastructure and automatically scales the web server to meet the incoming traffic demand.
By leveraging App Engine Flex, you can focus on developing and deploying your MLflow workflows, leaving the infrastructure management to Google.
Cloud Storage as Artifact Backend
Let’s talk about the MLflow Artifact Backend, a fancy name for where we store our machine learning experiment outputs, such as trained models and artifacts 📜
Cloud Storage is a perfect fit for this role, offering virtually limitless, highly available, and durable object storage for your data, accessible from anywhere in the world. By using Cloud Storage as the Artifact Backend for your MLflow project, you can store and version your artifacts reliably, and access them with low latency from your MLflow Web Server 📈
Secret Manager for storing secrets
Secret Manager is a powerful GCP tool that helps you store and manage sensitive data, such as passwords, API keys, and certificates, securely 🔑
For MLflow, the Secret Manager comes in handy for managing credentials and other sensitive information required to access your cloud resources, such as Cloud SQL instances and Cloud Storage buckets. By storing your secrets in the Secret Manager, you can avoid hardcoding them in your code or configuration files, which can be a security risk.
With the GCP Secret Manager, you can rest assured that your sensitive information is kept safe and accessible only to authorized users and services.
Cloud SQL as MLflow Backend
Let’s talk about Cloud SQL, a fully-managed relational database service that runs on GCP. When it comes to MLflow, Cloud SQL serves as an excellent choice for your backend database, offering scalability, high availability, and automatic backups without any maintenance overhead.
The Cloud SQL instance will serve as the MLflow backend so that you can store your experiment logs. The MLflow UI will then communicate with the backend to offer visualization regarding hyperparameters, metrics, and tags.
By using Cloud SQL as the backend for your MLflow projects, you can focus on your data science work while leaving the database management to Google 😌
Want to learn more on the subject, feel free to explore my previous article on Cloud SQL vs BigQuery.
Log Pusher Service Account for MLflow Communication
The Log Pusher Service Account is a special account that enables secure communication between your MLflow components and Google Cloud Platform (GCP) services. It comes in handy when your MLflow code needs to access your Artifact Backend or the Web Server, requiring authentication and authorization.
By using a dedicated service account for this purpose, you can avoid using your personal credentials, which can be a security risk, and benefit from granular access control.
In practice, we also use it when a Data Scientist wants to push logs to MLflow. He need to download a service account key file from GCP and use it to authenticate with the MLflow server in his Python code.
Terraform Deployment of MLflow Infrastructure

Go to the root directory of the repository and run:
DEBUG=true make one-click-mlflowThis script will guide you through the deployment of the MLflow infrastructure. The deployment script will prompt you multiple times during the configuration:
- Asks for the project to deploy the infrastructure
- Asks for a support email for your MLflow Server application
- Asks emails to authorize to access the MLflow Server application
It will take around 30 minutes so grab your favorite Japanese green tea 🍵 and relax 🧘♂️
Once the deployment is finish, the script gives you the link where you can access your MLflow Server. The tracking URL follows this format: https://mlflow-dot-<your/project/name>.ew.r.appspot.com.
Your can find the exact URL in the App Engine instance overview page here.
Logging MLflow Experiments
In order to be able to communicate with your MLflow Artifact Registry, the first step is to set the tracking URL for your MLflow client:
echo "export MLFLOW_TRACKING_URI=https://mlflow-dot-<your/project/name>.ew.r.appspot.com" >> ~/.bashrcThis command will save the MLFLOW_TRACKING_URI environment variable in your .bashrc file. Make sure to replace <your/project/name> with the name of your GCP project.
I’ve created a Python class to ease the process of pushing logs on a GCP hosted MLflow Server. You can find it here.
You can authenticate yourself to the Tracking Server this way:
from mymodule.oauth_mlflow import OAuthMLflow

tracking_uri = "https://mlflow-dot-<your/project/name>.ew.r.appspot.com"

OAuthMLflow.set_tracking_uri(tracking_uri)

# Your MLflow code here to log metrics, params, or artifacts
The first time you run your code, you will be asked to authenticate to the Tracking Server by providing the project_id of your GCP project as well as the password of your GCP admin account.
The script will automatically download the service account key file of the mlflow-log-pusher. You will be able to find a mlflow-log-pusher-key.json file at the root of your project. Then, as long as MLFLOW_TRACKING_URI is defined in your environment and the key file is in your directory, you will be able to interact with the remote server.
If you are starting a new project, I highly advise to start using the MLflow template I’ve created and discussed in my previous article.
Terraform State

Terraform state is a critical component of your infrastructure-as-code (IAC) project, as it stores the current state of your resources and tracks changes over time. By hosting your Terraform state in Cloud Storage, you can benefit from its scalability, durability, and versioning capabilities.
Managing Terraform State in the Cloud
Hashicorp, the developer of Terraform, recommendeds hosting your state using Terraform Cloud, their proprietary SaaS offering. But we can also host our Terraform state on a Cloud Storage and benefit from this pratice that offers several benefits for managing your IAC projects.
Let’s take a simple example: let’s suppose you create a IAC project and you add ressources to it. When you deploy it, the current state of my GCP project will be tracked by a Terraform state file in my local directory.
What if a colleague of yours pull the repository and starts making some changes ? Our Terraform states will be out of sync and we will have to deal with conflicts 🤕
By setting up the backend of your Terraform project to a remote Cloud Storage, you can avoid this issue and have a single source of truth for your Terraform state.
Migrating Terraform State to Cloud SQL
Here how to do it in 7 steps:
- Create a another project, if your MLflow is deployed on the
mlflowproject, name the new project asmlflow-tf-state. - Create a bucket on the new project and name it
mlflow-tf-state. - Create a
backendfolder under your directory containing your terraform code. - Create a
backend.tffile inbackendwith the following content:
terraform {
 backend "gcs" {
   bucket  = "mlflow-tf-state"
   prefix  = "terraform/state"
 }
}- Create a
main.tffile inbackendwith the following content:
provider "google" {
  project = "mlflow-tf-state"
}- Run
terraform init -migrate-stateto initialize the backend. - Type
yesto migrate the state to the new backend.
Conclusion
Congratulations 🎊
You hosted your own MLflow infrastructure on Google Cloud Platform (GCP) using Terraform !
In this article, we covered the basics of MLflow and Terraform, and explained why hosting MLflow on GCP can offer significant advantages for your machine learning projects. We also discussed the various GCP services and components required to deploy a complete MLflow architecture, including the Identity-Aware Proxy, App Engine Flex, Cloud Storage, Secret Manager, Cloud SQL, and the Log Pusher Service Account. Finally, we walked through the process of logging MLflow experiments and managing your Terraform state in Cloud Storage.
By using these best practices and tools, you can streamline your machine learning workflows, improve collaboration, and achieve better results. I hope this article has been helpful and informative, and I wish you success in your Machine Learning journey 🚀